
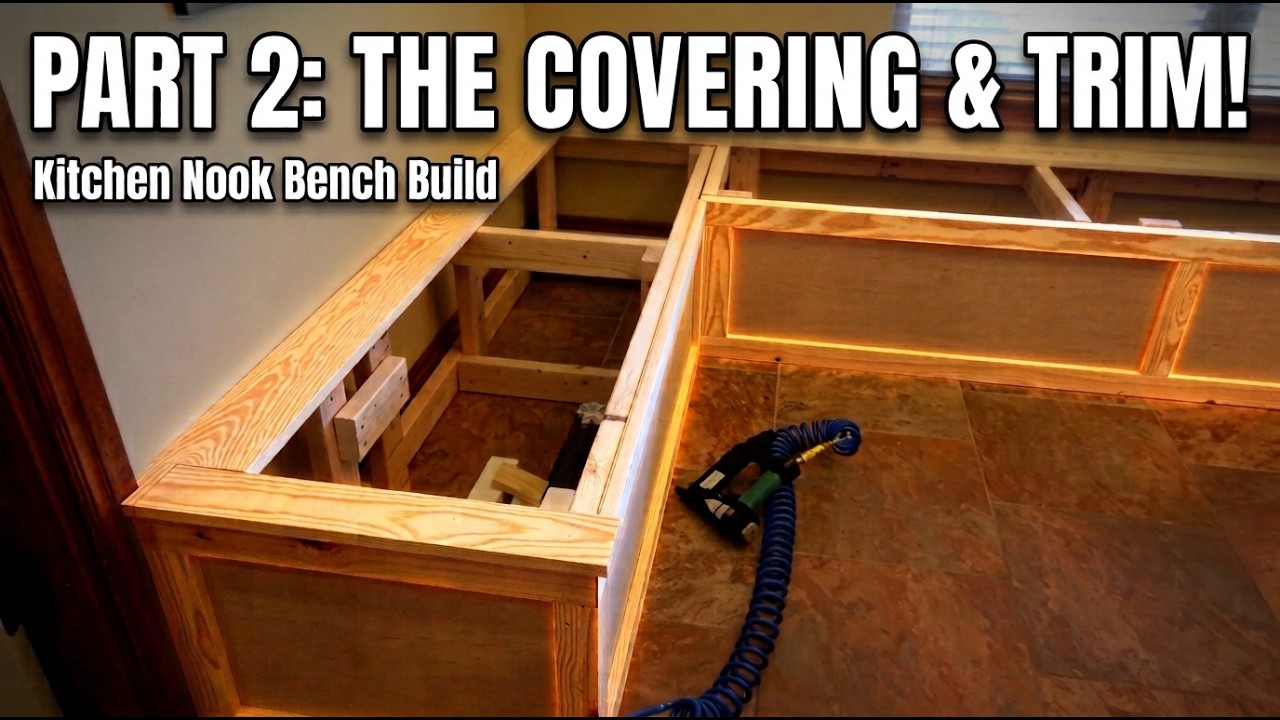
Kitchen Nook Storage Bench — Part 2: Covering & Trim Work
Description
Part 2 of building a custom hinged storage bench for our kitchen nook — covering the frame with plywood and getting the trim installed to start making it look like real furniture. Still new to woodworking, so bear with me as I figure this out. If you see something I could've done better with the trim, let me know in the comments. What's covered in this part: ✅ Measuring and cutting quarter-inch plywood panels for the frame ✅ Gluing and nailing the plywood covering to the structure ✅ Mitering and fitting the bottom trim (45-degree cuts) ✅ Chiseling out a notch so trim fits flush around a wall outlet ✅ Sanding and mounting all the trim pieces Timestamps: 0:00 Recap + what's covered today 0:29 Measuring the frame openings 1:16 Planning the plywood panel sizes 1:52 Cutting the plywood panels 3:13 Gluing and nailing the covering on 4:34 Checking for gaps 4:43 Planning the trim layout 5:00 Cutting and fitting the bottom trim (45s) 7:38 Sanding the trim pieces 11:16 Fitting trim around the wall outlet 12:44 Wrap-up + what's next Catch up on Part 1 (building the frame): [link] Part 3 is next — putting on the bench top and installing the hinges. Subscribe so you don't miss it. #Woodworking #DIYFurniture #BenchBuild #BeginnerWoodworking